Showing posts with label garlic. Show all posts

Wednesday, June 22, 2011

Baked Garlic Rice Pilaf

  The smell of garlic and black pepper permeate the air right now. In the oven, my cast-iron dutch oven is simmering away with one of my favorite ways to make rice. I found this recipe a couple of years ago, back when food.com was recipezaar.com. It was posted by Northwest Lynnie, and it's become a staple in my house since. I've streamlined her recipe ever so slightly, but please keep in mind it does take a little time to make - 70 minutes of baking time, plus just a few minutes on the stove-top beforehand.


Baked Garlic Rice Pilaf
Serves 5

Ingredients
2 tablespoons butter
3 cloves garlic, minced or 1 tablespoon garlic paste
1 cup long-grain rice (Basmati is fantastic in this)
2 1/2 cups chicken broth, divided
1/2 teaspoon salt
1/2 teaspoon black pepper

  Start by preheating the oven to 375°F. In a dutch oven, melt the butter over medium heat. Stir in the rice and garlic if you are using the cloves. You'll want to make sure all the rice is coated in butter. Stir occasionally, making sure the garlic and rice doesn't burn. Essentially, you are toasting the rice, and you'll get this wonderful nutty aroma. The rice will be just a light golden brown when it's ready. This takes just a couple of minutes, so don't wander off.

  Pour in 1 cup of chicken broth, salt, and pepper. If you are opting for the garlic paste, stir it in now. Stir to combine and bring to a boil. Cover with the dutch oven's lid, and slide it carefully into the oven. Bake for 25 minutes.

  Remove the dutch oven and lift the lid. The rice will have already drank up the previous cup of broth and the edges will be brown and crusty. Add in the remaining 1 1/2 cups of broth and stir the rice. Cover, and return to the oven for another 45 minutes. Once the time is up, it is ready to spoon up and serve. Enjoy!

Note - I use garlic paste when I make this, just so I don't risk burning the garlic.  The first time I made this, I was going to use regular garlic, but it had sprouted.  I'm very glad I had the paste as a back up!  If you'd like to see the original recipe, visit Baked Garlic Rice Pilaf.

Wednesday, October 27, 2010

Kitchen 101: Roasting Garlic

Ah, the Stinkin' Rose, and just in time for Halloween, to boot.  Garlic has a way of, shall we say, making an impression.  Me?  I love the stuff anyway I can get it.  But if you don't care much for garlic's pungency, try roasting it.  It brings a mellow and slight sweetness that is just heavenly - a contrast to the sharp bite of raw garlic.  Roasted garlic is versatile and downright tasty spread on toasted French bread.  And roasting is too easy not to give it a try.

For the tools of the trade, you'll need a head of garlic, olive oil, and aluminum foil. 

A head of garlic?  Sometimes it's referred to as a garlic bulb, covered in several papery layers of skin, a bit like an onion.  The small, individually wrapped nodules that compose the head are called cloves.  Got it?  Great!

For what we are doing today, we need to keep the head intact.  With a knife, cut off the top 1/4 of the head, exposing the clustered cloves inside.


Tear off a square of aluminum foil, and place the trimmed head in the middle.  Drizzle with just a little olive oil.


I find that olive oil from a cat dispenser tastes the best....but I'm weird that way.  (All kidding aside, the opaque container does protect the oil from light.)

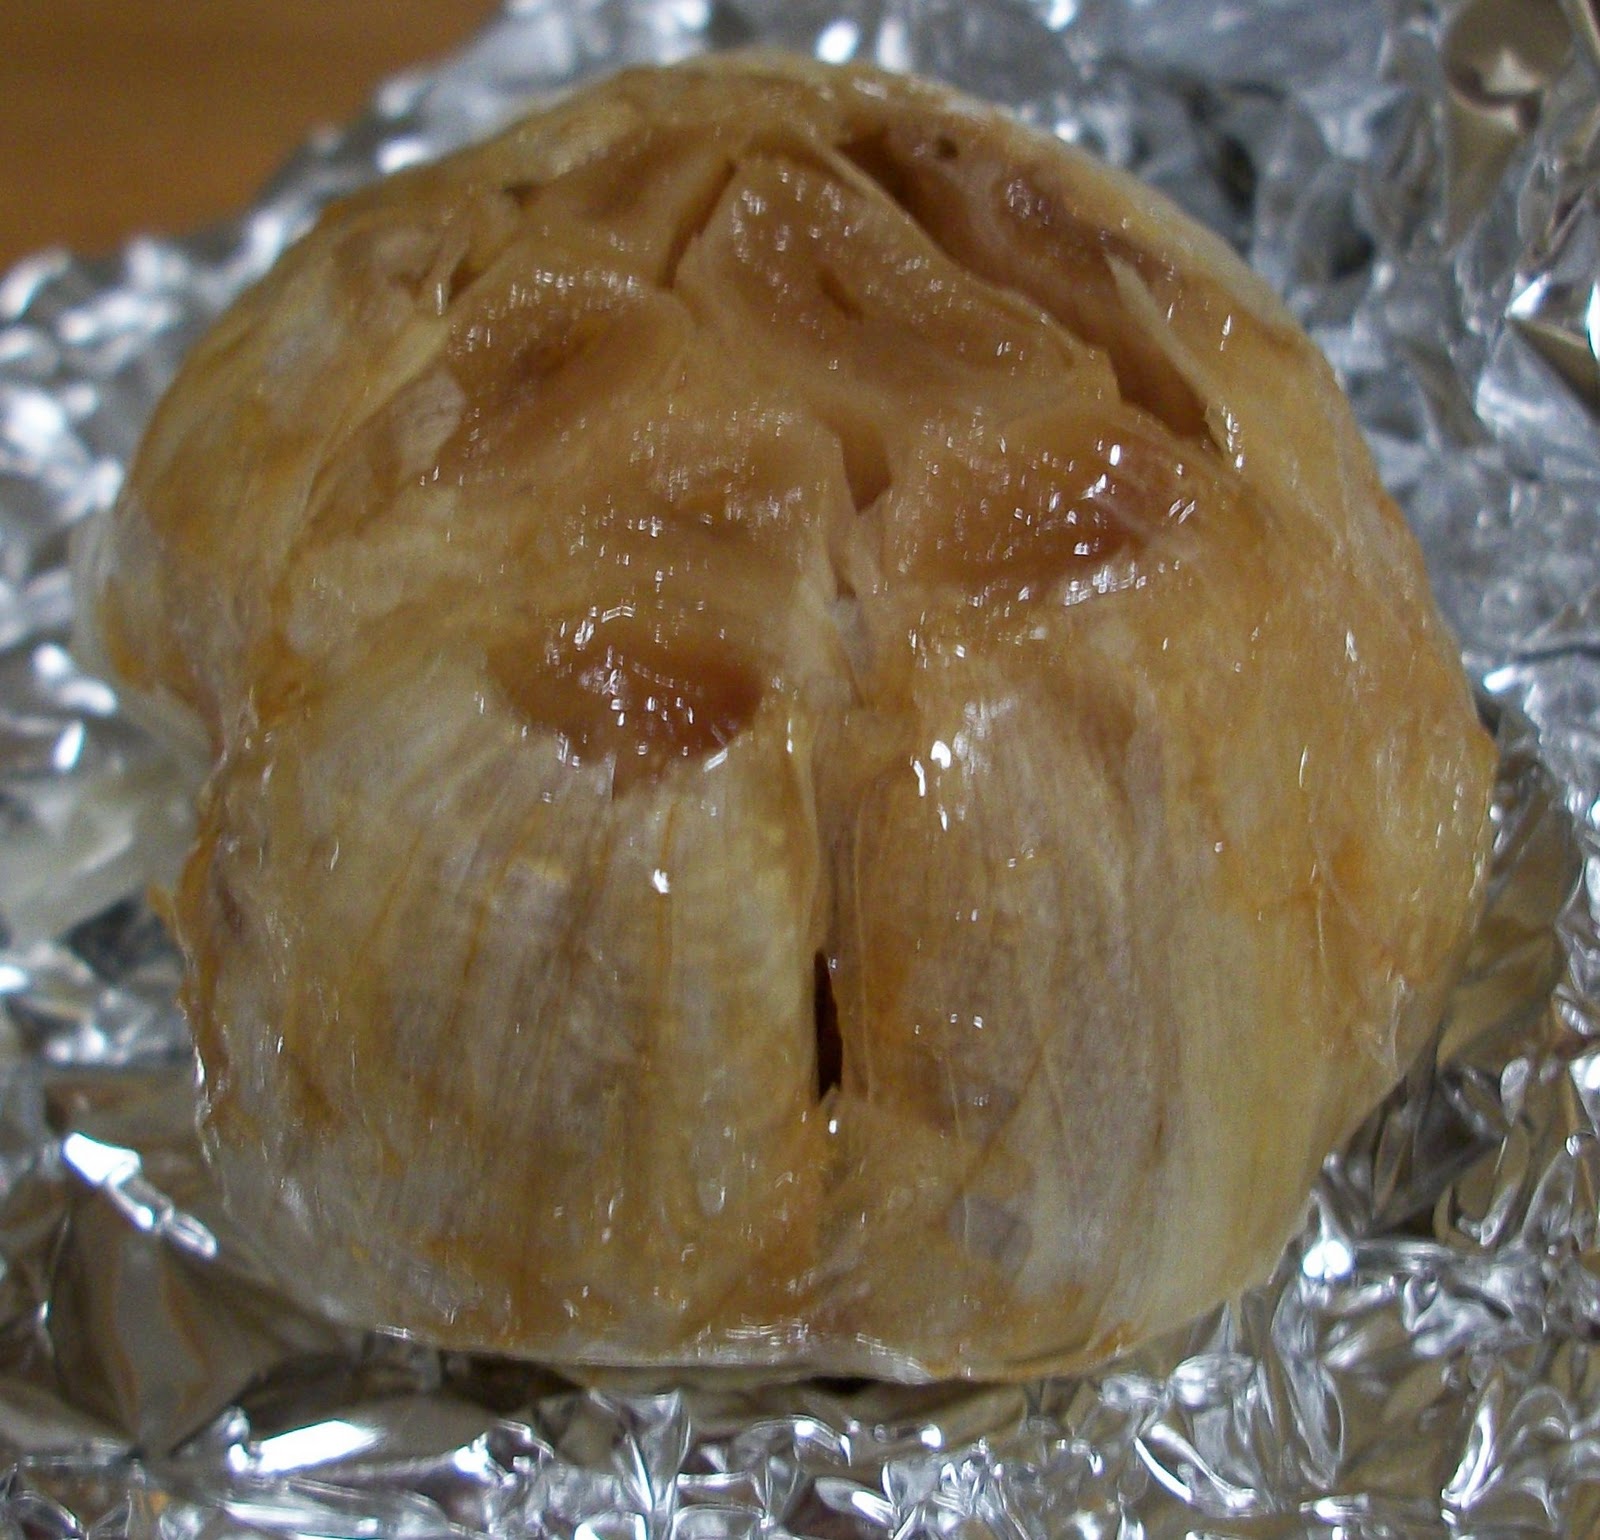
Wrap your garlic up tightly in the aluminum foil and pop into a preheated 350°F oven.  Bake for about an hour.  Remove and once it's cool, unwrap the head.  The cloves will be caramelized and brown in color.  The garlic has taken on a more mellow taste.  To remove the garlic, squeeze the head and the softened garlic will come out.


What's it good for?  Lots of delicious options - add it to mashed potatoes, make a garlic seasoning paste, squeeze it straight from the bulb and spread on toasted bread, and one of my favorite ways to use it is in a salad dressing.  And the roasting process I gave you is very flexible.  If I've got the oven going for something else - say baked potatoes- I just toss my foil wrapped garlic in on the rack to take advantage of that heat.  Cooking at a higher temp than 350°?  Just start checking your garlic at an earlier time.  I usually run about 30-45 minutes in a 400°+ oven for roasting.  Multiple heads going?  I've read other blogs where crafty cooks use a muffin tin and cover with foil; you don't have to retrieve multiple foil packs that way.  Just make sure to store leftovers in the fridge, covered with a bit of olive oil, and use within a few days.